
Installing a Storm Door: Storm Door Installation Tips from a Handyman
- Josh Bash
- Feb 27
- 3 min read

Installing a storm door can be a fantastic way to boost your home's curb appeal, improve energy efficiency, and add an extra layer of protection against the elements. If you’re thinking about tackling this project yourself, I’m here to share some expert handyman tips that will make the process smoother and more enjoyable. Whether you’re a seasoned DIYer or a first-timer, these tips will help you get the job done right.
Why You Should Consider Storm Door Installation Tips
Storm doors are more than just an extra door. They protect your main door from harsh weather, reduce drafts, and can even improve your home’s insulation. Plus, they let in fresh air while keeping bugs out when you want to open your main door. But installing one isn’t always as simple as it looks.
Here’s where storm door installation tips come in handy. Knowing the right tools, measurements, and steps can save you time and frustration. You’ll avoid common mistakes like misaligned hinges or poorly sealed edges that can cause drafts or damage.
Before you start, make sure you have the right tools: a drill, screwdriver, measuring tape, level, and safety glasses. Also, check the door frame for any damage or rot that might need fixing before installation.
Storm Door Installation Tips: Step-by-Step Guide
Let’s break down the installation into easy steps. Follow along, and you’ll have your new storm door up in no time!
1. Measure Your Door Frame Carefully
Accurate measurements are key. Measure the width and height of your door frame at three points: top, middle, and bottom. Use the smallest measurement to ensure the door fits perfectly. Don’t forget to measure the thickness of your door frame too.
2. Choose the Right Storm Door
Storm doors come in different styles and materials like aluminum, wood, and vinyl. Pick one that matches your home’s style and your budget. Also, consider features like retractable screens or full-view glass panels.
3. Prepare the Door Frame
Clean the door frame thoroughly. Remove any old weatherstripping or debris. If you spot any damage, repair it before moving forward. A solid frame means a solid installation.
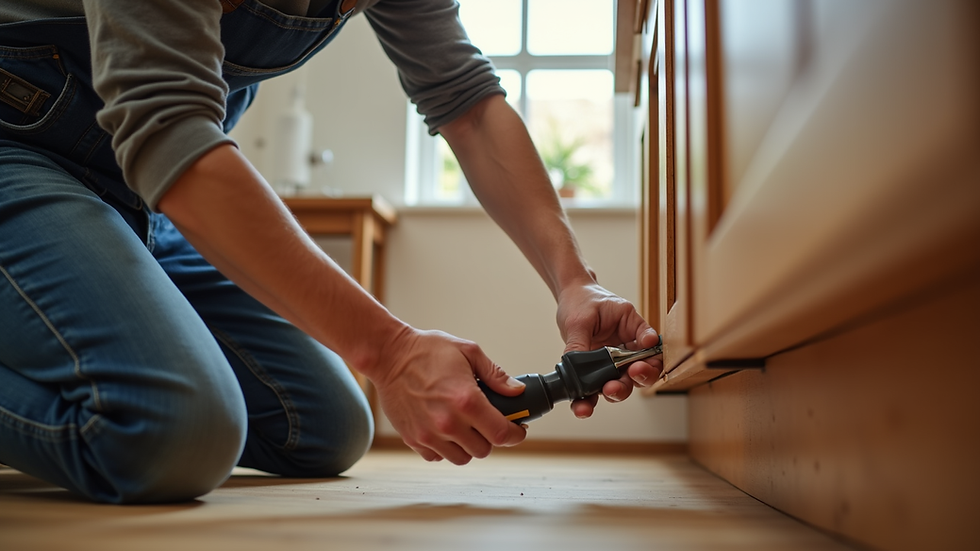
4. Attach the Hinges
Most storm doors come with pre-drilled holes for hinges. Align the hinges with the door frame and mark the spots. Drill pilot holes to avoid splitting the wood, then screw the hinges in place. Use a level to make sure the door will hang straight.
5. Hang the Door
With help, lift the door and align the hinges with the frame. Secure the door by screwing the hinge pins in place. Check that the door swings smoothly and closes tightly.
6. Install the Door Handle and Closer
Follow the manufacturer’s instructions to attach the handle and closer. The closer helps the door shut gently and securely. Adjust the tension if needed to prevent slamming.
7. Seal the Edges
Apply weatherstripping around the door edges to keep out drafts and moisture. This step is crucial for energy efficiency and comfort.
8. Test Your Door
Open and close the door several times. Check for any gaps or sticking points. Make adjustments as needed.

Common Mistakes to Avoid When Installing a Storm Door
Even with the best intentions, mistakes happen. Here are some common pitfalls and how to avoid them:
Skipping measurements: Always measure twice, cut once. A door that’s too big or too small won’t work.
Ignoring the level: A crooked door looks bad and won’t close properly.
Not prepping the frame: Dirt or damage can cause problems down the line.
Over-tightening screws: This can strip the holes or damage the door.
Forgetting weatherstripping: This small step makes a big difference in comfort.
If you’re unsure about any step, don’t hesitate to call a handyman to install storm door for expert help. Sometimes, a little professional assistance can save you a lot of time and hassle.
Tools and Materials You’ll Need for a Smooth Installation
Having the right tools on hand makes the job easier and safer. Here’s a quick checklist:
Drill with screwdriver bits
Measuring tape
Level
Hammer
Screwdriver set
Utility knife
Weatherstripping
Safety glasses
Ladder (if your door is tall)
Make sure your storm door kit includes all the hardware like hinges, screws, handles, and closers. If anything is missing, get it before you start.

Final Thoughts on Installing Your Storm Door
Installing a storm door is a rewarding project that adds value and comfort to your home. With the right preparation and these storm door installation tips, you’ll breeze through the process. Remember to take your time, follow the steps carefully, and don’t hesitate to ask for help if you need it.
If you want to ensure a perfect fit and finish, consider hiring a handyman to install storm door. Professionals bring experience and tools that can make all the difference.
Enjoy your new storm door and the benefits it brings to your home!


Comments